

Amazing Blue Agate: Polishing and Tutorial
Companion Blog to the Video
Let’s cut some wonderful Willamette Valley Blue Agate from rough to gemstone. I include tips about planning, cutting, tool use, and polishing. We are using a client’s found rocks to fulfill a ring order but you can use any of your own rocks for similar results!
Roll the video right here (above, by clicking the play button) and stop it at any time to consult the notes.

First off:
If you’re mailing rocks, protect them with bags/bubble-wrap/wrapping-paper/etc. It’s not that they are fragile, it’s that they may break through the envelope or box! This parcel only had to travel over the Coast Range in Oregon, the equivalent of a couple of hours of driving, and it sustained some pretty decent damage. Those rocks really wanted to get out of the package and get polished!
Second: Assessing The Stones
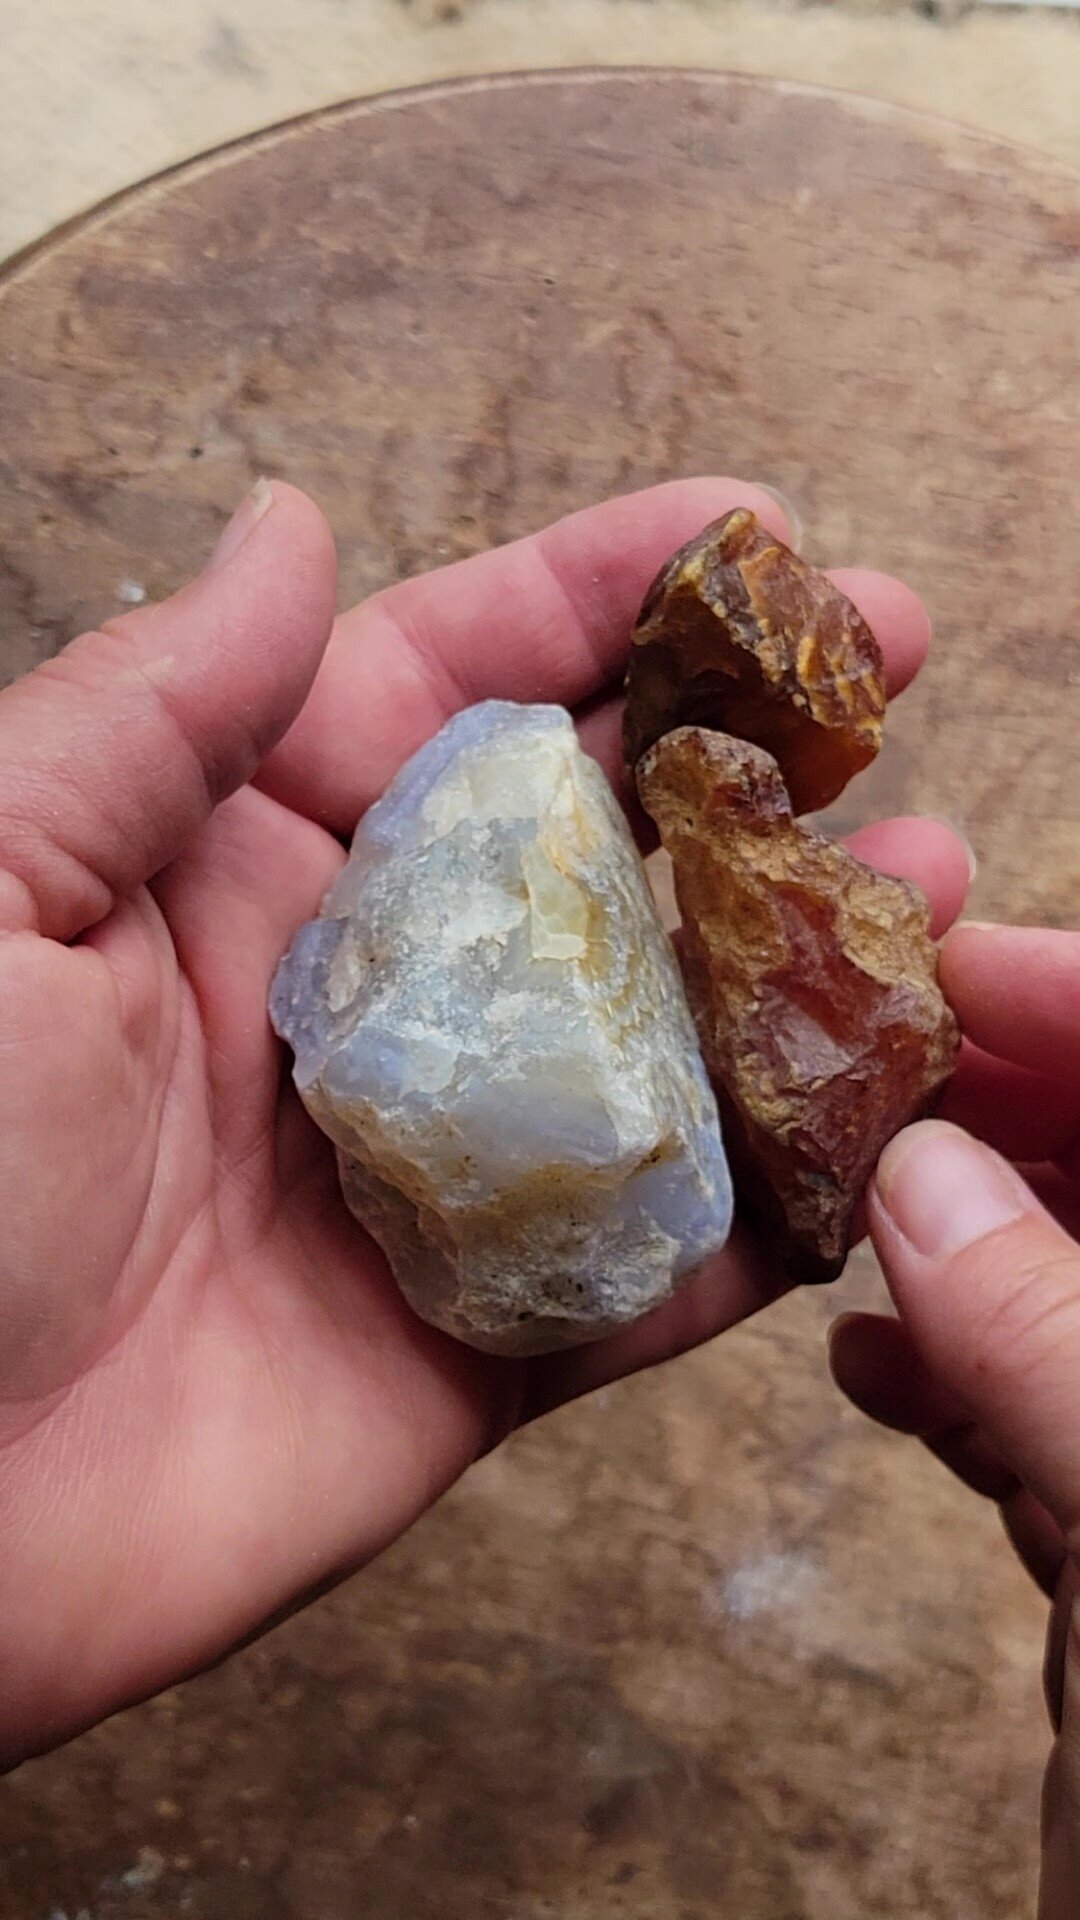
We get into looking at the rocks inside and it’s evident that my friends/clients have sent some really beautiful stones to choose from to make a cabochon for a custom ring order. Carnelians are one of the nicest finds you can score in the Willamette Valley but there’s also the fabled Holley Blue. The material they sent is a little lighter than the textbook Holley Blue, it’s more ‘Almost Holley Blue’.
The way we’re going to prepare this blue agate for the lapidary is unorthodox. I like to break my material instead of cutting it. Organic, asymmetrical shapes can be a design asset. At the same time, many of the breaks end up having incredible geometry due to their inherent architecture.

Third: Materials
Here are the breaks! The next step is to take them to the lapidary machine, clean them up, and see what shape the stone chose. I’m using these tools:
Hi-Tech Diamond Flat Lapidary machine
100#, 180# Diamond Discs (Cut)
325#, 600#, 1200# Diamond Discs (Pre-polish)
Cerium Oxide embedded Disc (Polish)
Dop Station with Extra Hard Wax
Wooden Dowels


Fourth : Planning Shapes
Each stone broke in an interesting shape. The job here is to cut each of the stones down until the surface is even with itself. This is where you can use the shape the stone chose or use your own creative license.
Fifth: Refining Shapes
At this stage, it’s important to keep in mind the kind of setting you will use to hold the stone (if you are preparing it for jewelry). In this case, I need to make sure there’s a good base and girdle (the outside perimeter of the stone/sides) to set it in a ring.
Make sure each surface is flat or even with itself. If you don’t grind smooth surfaces now, you’ll never get a good polish, there will be ‘clouds’ or scratches on your project. After you’ve got the front, back, and sides ready, you can mount the cabochons on dop sticks. ‘Dopping’ is the process of mounting stones on sticks with hot wax or glue to hold the stone for better handling while cutting and polishing. I refined the gem shapes and achieved even surfaces with the 100# and the 180# diamond discs. The brown disc is 325# and will further smooth out the shapes and get rid of any deep scratches from the low grits.


Sixth Step: Erasing and Nuancing
The red disc is 600# and erases the scratches from the disc before an subtly alters the shapes if needed; like the angle on the sides (for bezel setting) and the dome on the top of the stone. It’s really exciting to see the stones ‘clear up’ and start to really show the details in their inner structure (like the ribbons of fortification lines and the botryoidal bubbles).
There’s no set time that it takes to complete each stage on the wheels. It takes as long as it does. I like to use a jeweler’s loupe or hand lens (any magnification will do) to make sure I’ve cleaned up all the scratches before I move on to the next wheel. This assures a good result and prevents me from having to backtrack (because that is absolutely no fun!).
